For my first project, I was tasked with creating an object that neatly organizes a pair of earbuds.
First, I sketched my object in my designer notebook. I used this as a rough idea that I based my final object off of.
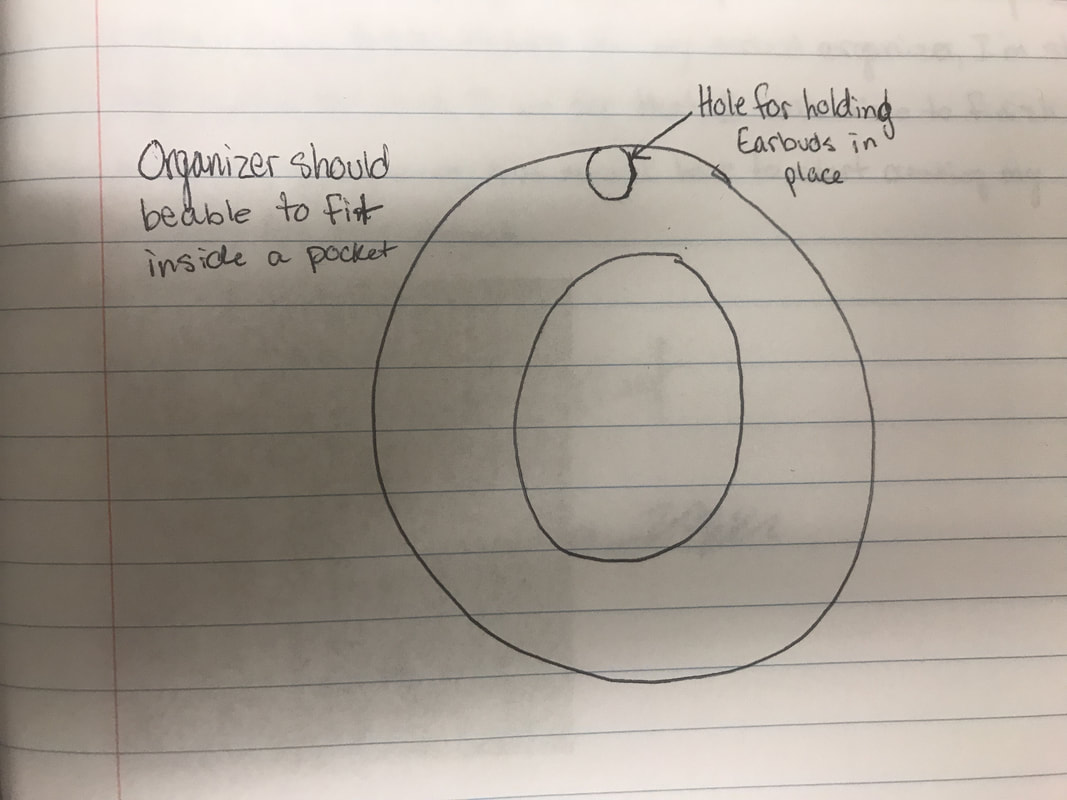
The idea for this organizer was based off the same principle that a toy yo-yo uses to wrap up the string. There would be a hole to hold one end of the earbuds in place, while the rest of the cord wrapped around in the middle of the object. I also wanted the organizer to also be able to fit in a pocket without being annoying, so it could actually be a useful object that someone would use everyday.
I made this object using AutoDesk Inventor, a computer-aided design program used to create 3-dimensional objects. I ran into some problems on the way. I was having trouble finding a way to connect the different parts to create one single object. I eventually realized that I shouldn't be making different parts in the first place. Instead, I have one part, with multiple extrusions added onto it.
When I finally got most of my object created, I was able to be picky with my object, and add some things in that would help the organizer last longer, things such as fillets so the sharp plastic wouldn't cut into the cord.
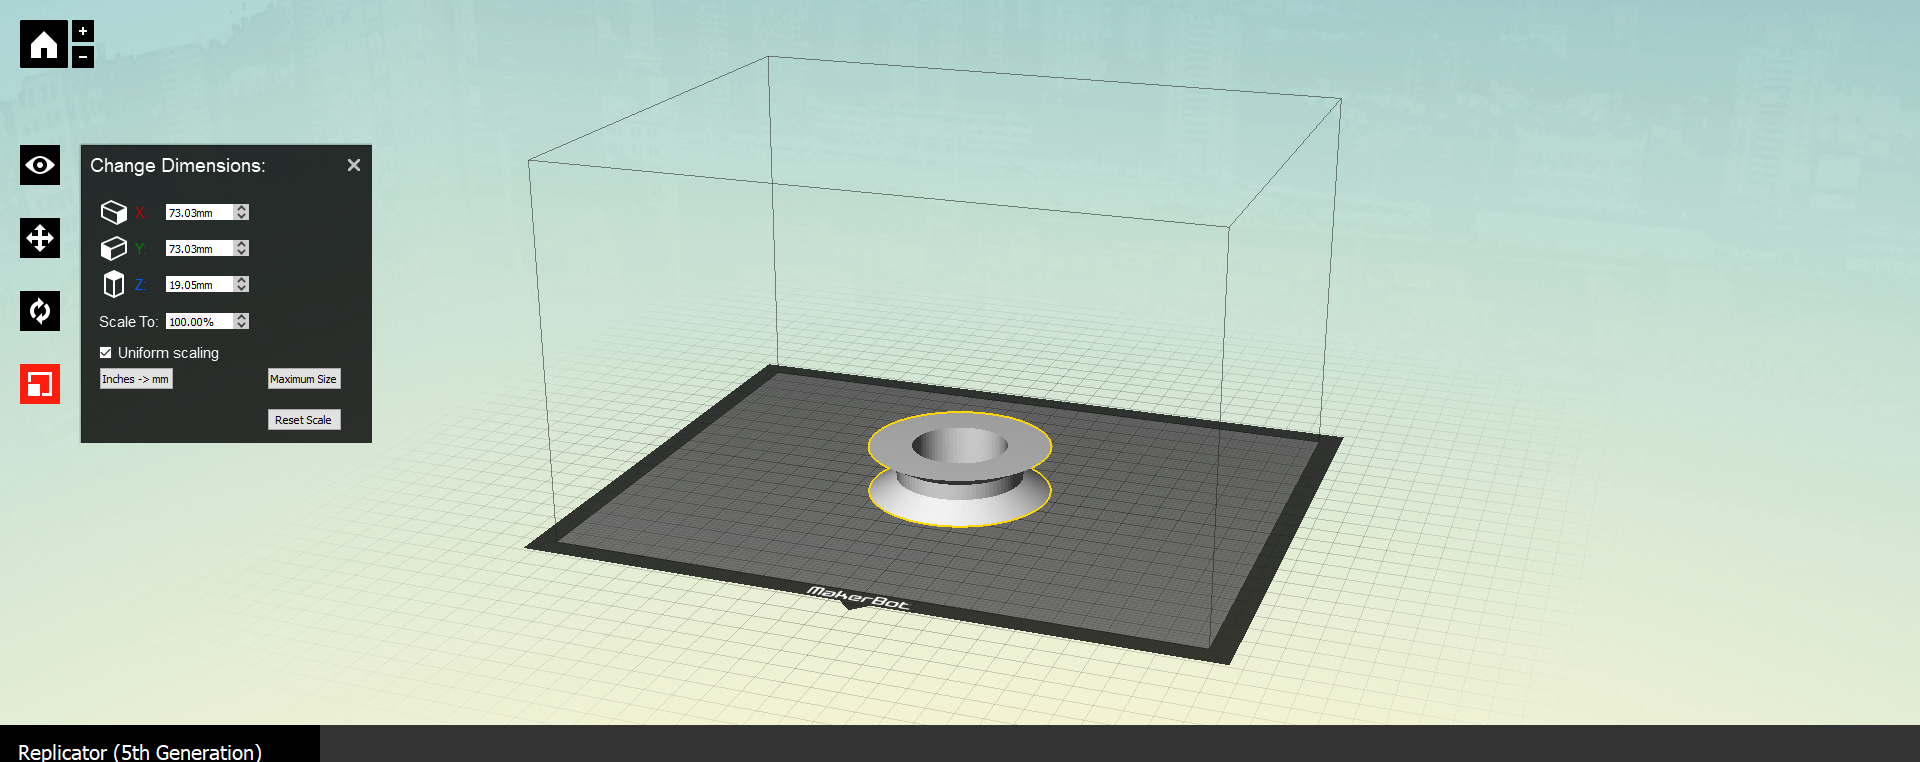
This was my final result in the program...
I made this object using AutoDesk Inventor, a computer-aided design program used to create 3-dimensional objects. I ran into some problems on the way. I was having trouble finding a way to connect the different parts to create one single object. I eventually realized that I shouldn't be making different parts in the first place. Instead, I have one part, with multiple extrusions added onto it.
When I finally got most of my object created, I was able to be picky with my object, and add some things in that would help the organizer last longer, things such as fillets so the sharp plastic wouldn't cut into the cord.
This was my final result in the program...

I saved the file from inventor as an STL file, and opened it in the MakerBot Desktop program.
There were a few things I needed to do,I had to set the scale to 1000%, and I had to lay the object flat on the bottom so the object hopefully wouldn't warp.
There were a few things I needed to do,I had to set the scale to 1000%, and I had to lay the object flat on the bottom so the object hopefully wouldn't warp.
Next, I exported that file to a flash drive, inserted the flashdrive into the printer, and started printing!
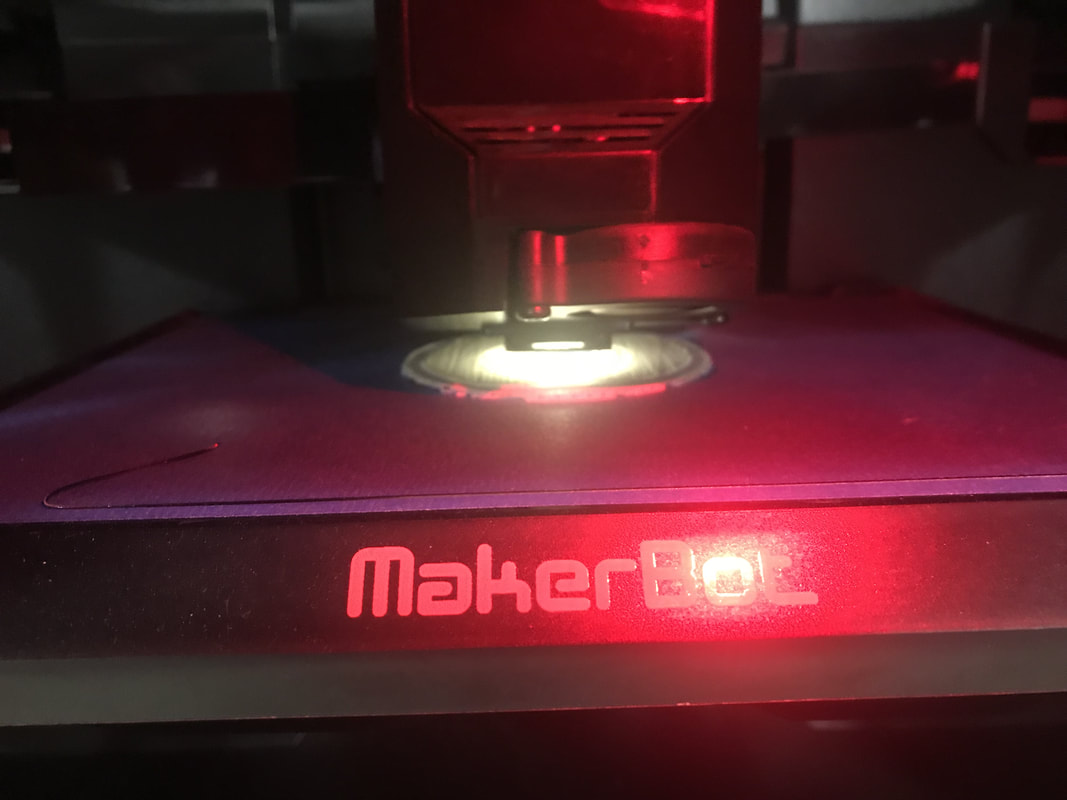
FINAL PRODUCT....

For this project I gained a better understanding of how 3D printing works. I learned that actually designing something is a lot harder to make in a program than I would have thought. There were some problems along the way, but overall I consider this a success.
